Thursday, September 16, 2010

Super Simple Covered Lampshades....

As anyone who knows me can attest, I just love changing things up often to keep them "fresh". I am one of those people who redecorates each season in an effort to create that perfect ambience year round. I also like to make these changes without breaking the bank and without taking up too much time. I like things to be simply elegant.


A couple of days ago I decided I wanted to find a use for some leftover fabric I had that I just adored. I decided to try to cover some lampshades with it. I have heard of people doing this before with spray adhesives, glue guns and the like. I, on the other hand, wanted to cover the lampshades, but also wanted to be able to remove/ change them later if I tired of them (which knowing me, I probably will ) . I decided to go about it using things I already had around the house. Double sided tape seemed to fit the bill. It will be easily removable when I get the urge. It was also super quick....I am very pleased with the finished result!! Here's how I went about it:


I started with a simple drum style lampshade......
Here are all the supplies I needed:

1. Drum lampshade
2. Fabric (not too heavy or it will block too much light)
3. Double sided tape (My favourite tool ever!!)
4. Scissors
5. Ribbon
6. 2 Stickpins
7. Pen


The first thing I did was to roll the lampshade out on the fabric(wrong side) and traced lightly with a pen as I rolled. I did one side and then the other being careful not to mark the lampshade. Sorry I didn't get a pic of this step but my hands were too busy to hold the camera! I wasn't too precise, just tried to get a basic idea of how much material I needed. Then I cut out the fabric.

I  used my trusty double sided tape to attach the end of my fabric directly to the seam of the lampshade. I carefully pulled the fabric around to meet and then folded over the end about 2 cm to leave a clean edge ( again using double tape). One last strip of tape joined the 2 ends.


  1. Once the fabric was secured around the shade, I used scissors( make sure they're sharp) to trim neatly around the top and the bottom of the shade. Make sure to go as close to the edge of the shade as possible.


    I ran another strip of double sided tape around the top of the shade and then peeled the backing off it.


I easily attached the ribbon to the tape. Repeat this step on the bottom of the shade as well...


Lastly, I added a stickpin on the top and the bottom where the ribbon meets, to make sure everything stays put...

That's it...could it be any easier?  Voila......you have a super easy "custom" lampshade...enjoy!!

Friday, September 3, 2010

Party for a "Wimpy Kid"...


For my son's 10th birthday, he wanted a "Diary of a Wimpy Kid party". There weren't a lot of ideas out there, so we had to get creative :)  We had a viewing of the movie, which surprisingly, most of the kids hadn't yet seen. It definitely went over well....kept everybody from 4-14 entertained :)
Here are some of the other things we came up with....


For the party invitations, I "wimped" my son at http://www.wimpyourself.com/  I added the party info, printed it off and then mounted it on orange paper for a pop of color...


Using the same image I added the writing "Happy Birthday Erikson" and printed it out on an 8 x 11 sheet of paper. I brought this in to a local grocery store bakery who easily transferred it to a cake for me. It turned out so well....my son was thrilled to say the least!


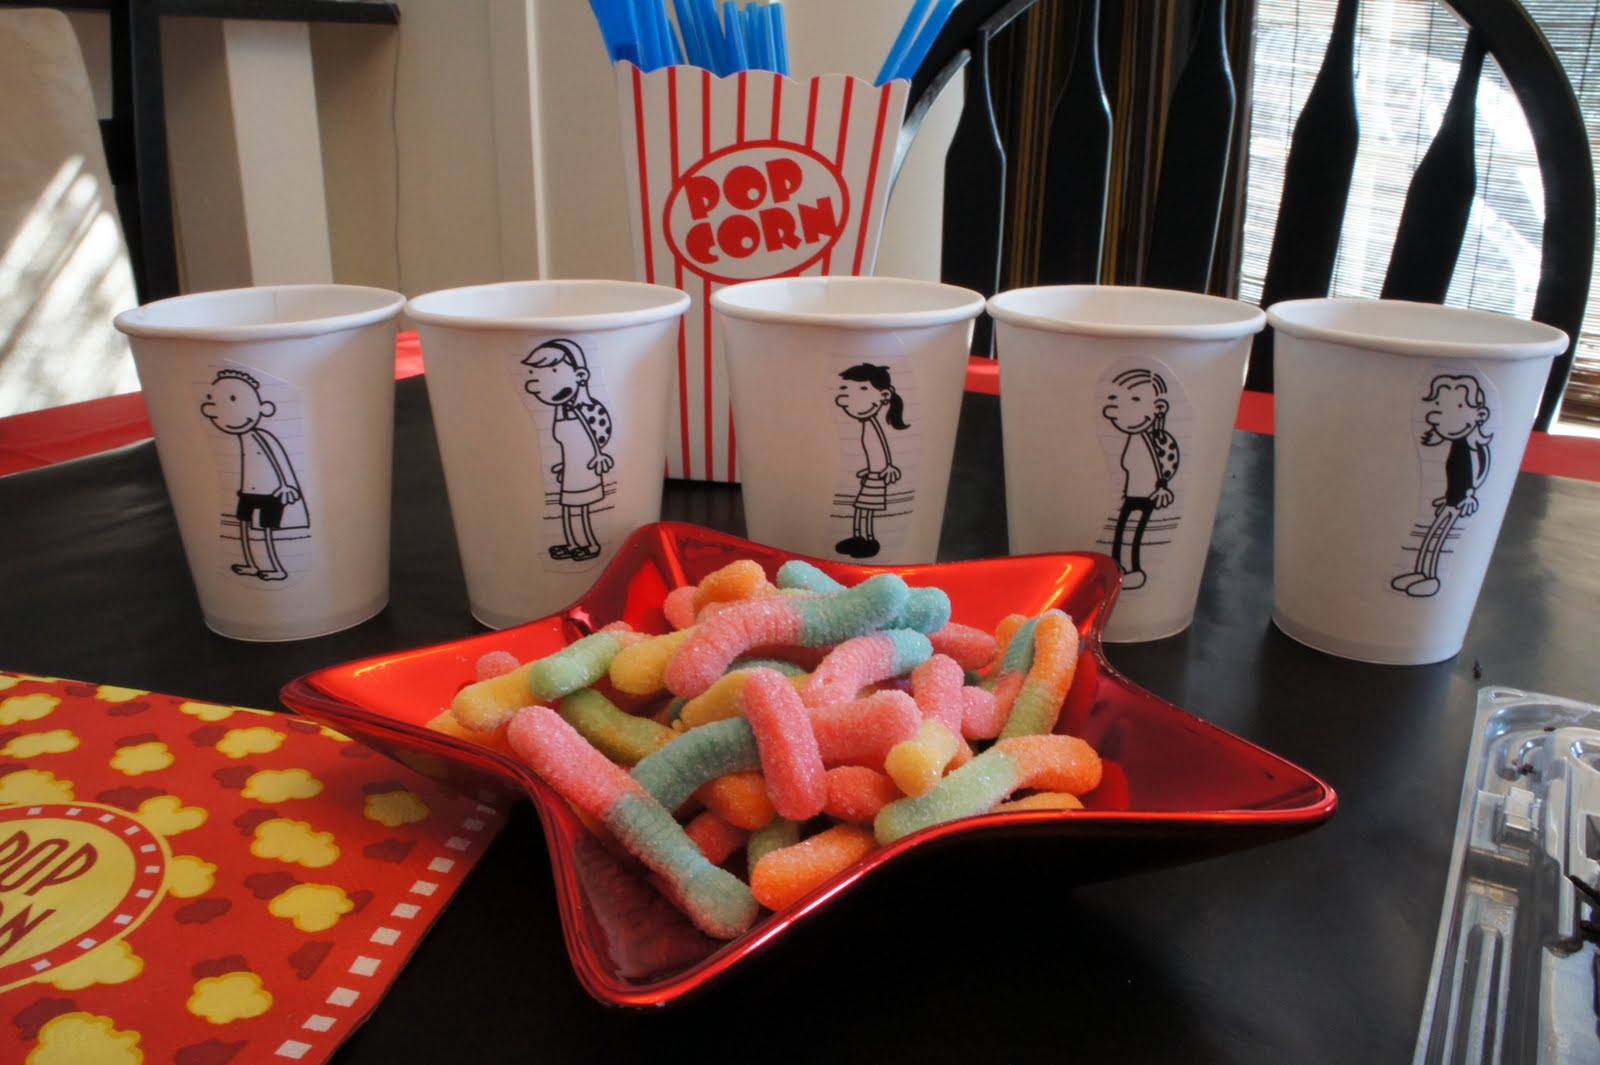
We also decided to "wimp" all of the guests....my son had a ball doing this!! We saved the images and then printed them out on sticker paper. We stuck them on plain paper cups. When the guests all arrived, they had a wonderful time trying to identify themselves. These cups had an added bonus...everybody new their own cup when it was time for drink refills!


Some loot bag goodies!!


The highlight of the loot bags were definitely the personalized diary's.....I used the same sticky paper and images of each guest I had made for the cups....super simple! The kids were thrilled!!


My son was delighted with his party.....and really, what more can a Mom hope for ;)

Friday, July 9, 2010

Strawberry Pie....OH MY!!


To me, there is no dessert more refreshing on a summer day than a slice of fresh strawberry pie....yummy!!

My favourite recipe was passed down to me from my mother (thanks Mom!). It is super simple , which I love!! I mean, who really wants to spend their summer slaving away in a kitchen anyways? ;)


Here's the recipe....(makes 2 pies)

Ingredients:
 1 quart (or more)Fresh Strawberries
2 Pie shells (baked)
2 packages Strawberry Jello powder
4 tbsp.Cornstarch
1 cup White Sugar (a little less if you don't love things too sweet)
1 cup Water
Whipped cream (eg. Dream Whip)


Start with some washed, fresh strawberries . If they're just a tad overripe, no worries...they'll still work in this recipe :)


You can make your own pie shells if you like, but I find store bought work just as well. Bake them according to the package directions and let cool.


While the pies shells are baking, slice your strawberries and gather your ingredients.


In saucepan, over medium heat, add water and then the cornstarch to the sugar. Stir frequently and bring to a boil. (Mixture will thicken). 


Next, add in the 2 packages of Jello powder. Stir to dissolve and remove from heat.


Add your fresh strawberries to the mixture. Stir. Let cool until the mixture thickens 1/2-1 hour.


Pour the mixture into your cooled, baked pieshell. You may want to refrigerate it for a while at this point 
to make sure it is nice and chilled.


Add your favourite whipped topping and a few sliced strawberries. Enjoy....life is sweet!!! ;)

Monday, June 28, 2010

A Day by the Sea...


It doesn't get more Seaside then this!  This weekend, my family was blessed to spend some time at the  Lighthouse in Ferryland, Newfoundland. The weather was just perfect.....bright blue skies, a warm sun shining down and the gentlest of ocean breezes. Nothing could be more inspirational... 


At the lighthouse, they prepare the most delectable picnic lunches....so of course we had to sample them. We were not disappointed!! What could be better than ice cold lemonade in mason jars??


Every picnicking group is given a flag to stake their ground, so they know where to bring your picnic lunch.


The kids had a great time playing with that flag!! :)


A short drive from Ferryland, we ended up in the tiny town of Brigus South...This is an old fishing stage in the community...
A perfect end to a perfect day! Sometimes all we need is a "mini" escape....so what is your favourite getaway for a day??


Wednesday, June 23, 2010

Some inspiration from the French....

Having returned from a trip to France, earlier this Spring, I was inspired by the wonderful design sense of the french people.

It seems most all of the spaces there, from the smallest cafes to the grandest of hotels, exhibit that wonderful "joie de vivre"! We can easily incorporate some of these special french touches into our own lives....

Below are some inspiration pics I've come across on Houzz.com...Enjoy!!
traditional bedroom by Rosemarie V. DiSalvo
Striped curtains easily infuse some flair to the simplest of spaces....
by Rosemarie V. DiSalvo
mediterranean kitchen by Claduio Ortiz Design Group, Inc.
a French country kitchen provides a warm, welcoming atmosphere...
by Claduio Ortiz Design Group, Inc.
contemporary bedroom by Montgomery Roth Architecture and Interior Design
Wonderful graphic wallpapers add some drama....in France, they are not afraid of patterns...the bright yellow lamps "pop" wonderfully against the black and white palette..
by Montgomery Roth Architecture and Interior Design
Striped Room
Bold horizontal stripes add wonderful impact to a space...
Striped Room
eclectic living room by SchappacherWhite Ltd.
If your are not ready to commit to stripes on a wall.... a simpler option is a striped rug...
by SchappacherWhite Ltd.
contemporary bathroom by Seaside Interiors
If you want to start small, striped towels in a bathroom are an easy accent....
by Seaside Interiors
eclectic living room Living Room -Striped Curtains
An eclectic mix of color and pattern...
Living Room -Striped Curtains
eclectic  Hotel Best Western Premier Regent's Garden Hotel Paris
Black cabinetry in this hotel library adds elegance....the accent color really sets off an otherwise dark space...
Hotel Best Western Premier Regent's Garden Hotel Paris
eclectic family room by Jacobs Design, Inc.
Again, bright colors contrast with the dark woodwork.....creating a cozy atmosphere that anyone would enjoy!
by Jacobs Design, Inc.  
bathroom Main Floor (Guest) Bath
Main Floor (Guest) Bath
I just adore the soft contrasting stripes painted on this bathroom wall....what a way to add some drama!!
So here's a question for you....what items do you think of when you think of french design??
I love to hear your replies!  :)


Monday, June 21, 2010

Welcome Summer! Must have accessories for the season....


Nothing says summer more than a glass hurricane or vase filled with seaside memorabilia- some sand, seashells, rocks, wood, combined with a candle, bring the beach to your home....couldn't be simpler!


A simple seagrass tray adds texture, function and interest to just about any space in your home. What a wonderful way to welcome company in a guest room!


A wonderful glass pitcher is such a versatile summer piece....it can go from holding fresh flowers to holding some refreshing lemonade on a hot day....


Lanterns, like this one from Pottery Barn, work well indoors or out! What a great way to cast a warm summer glow on any space....