Friday, September 17, 2010

Simply Fall....How to: table centrepiece....

I've been busy as a beaver with all my Fall preparations! Even though I'm sad to see summer go, I find that adding some warm autumnal touches around my home really help brighten my spirits! My latest creation has been this centrepiece. I used mostly things I had around the house....all I needed to purchase were 2 branches of 'faux' Fall flowers, a roll of  ribbon and a  bag of popcorn :keep reading to see how I used it ;)

The pictures are pretty self explanatory...just scroll on down to see the step by step...


What you will need.... (plus double sided tape :) )


Here's how I used the popcorn.....as filler!!


....by using the popcorn as a filler, I didn't even need to cut the stems, just bend them...


Trim off a couple of flowers and use them to fill in empty spaces...


Bend the ribbon around fingers for a soft curvy effect...


I had these square candle holders sitting around so I put them to work too!


The grand finale!! This project took only about 15 min, was inexpensive (around $15) and adds some wonderful color to my table....so welcoming!!


Thursday, September 16, 2010

Super Simple Covered Lampshades....

As anyone who knows me can attest, I just love changing things up often to keep them "fresh". I am one of those people who redecorates each season in an effort to create that perfect ambience year round. I also like to make these changes without breaking the bank and without taking up too much time. I like things to be simply elegant.


A couple of days ago I decided I wanted to find a use for some leftover fabric I had that I just adored. I decided to try to cover some lampshades with it. I have heard of people doing this before with spray adhesives, glue guns and the like. I, on the other hand, wanted to cover the lampshades, but also wanted to be able to remove/ change them later if I tired of them (which knowing me, I probably will ) . I decided to go about it using things I already had around the house. Double sided tape seemed to fit the bill. It will be easily removable when I get the urge. It was also super quick....I am very pleased with the finished result!! Here's how I went about it:


I started with a simple drum style lampshade......
Here are all the supplies I needed:

1. Drum lampshade
2. Fabric (not too heavy or it will block too much light)
3. Double sided tape (My favourite tool ever!!)
4. Scissors
5. Ribbon
6. 2 Stickpins
7. Pen


The first thing I did was to roll the lampshade out on the fabric(wrong side) and traced lightly with a pen as I rolled. I did one side and then the other being careful not to mark the lampshade. Sorry I didn't get a pic of this step but my hands were too busy to hold the camera! I wasn't too precise, just tried to get a basic idea of how much material I needed. Then I cut out the fabric.

I  used my trusty double sided tape to attach the end of my fabric directly to the seam of the lampshade. I carefully pulled the fabric around to meet and then folded over the end about 2 cm to leave a clean edge ( again using double tape). One last strip of tape joined the 2 ends.


  1. Once the fabric was secured around the shade, I used scissors( make sure they're sharp) to trim neatly around the top and the bottom of the shade. Make sure to go as close to the edge of the shade as possible.


    I ran another strip of double sided tape around the top of the shade and then peeled the backing off it.


I easily attached the ribbon to the tape. Repeat this step on the bottom of the shade as well...


Lastly, I added a stickpin on the top and the bottom where the ribbon meets, to make sure everything stays put...

That's it...could it be any easier?  Voila......you have a super easy "custom" lampshade...enjoy!!

Friday, September 3, 2010

Party for a "Wimpy Kid"...


For my son's 10th birthday, he wanted a "Diary of a Wimpy Kid party". There weren't a lot of ideas out there, so we had to get creative :)  We had a viewing of the movie, which surprisingly, most of the kids hadn't yet seen. It definitely went over well....kept everybody from 4-14 entertained :)
Here are some of the other things we came up with....


For the party invitations, I "wimped" my son at http://www.wimpyourself.com/  I added the party info, printed it off and then mounted it on orange paper for a pop of color...


Using the same image I added the writing "Happy Birthday Erikson" and printed it out on an 8 x 11 sheet of paper. I brought this in to a local grocery store bakery who easily transferred it to a cake for me. It turned out so well....my son was thrilled to say the least!


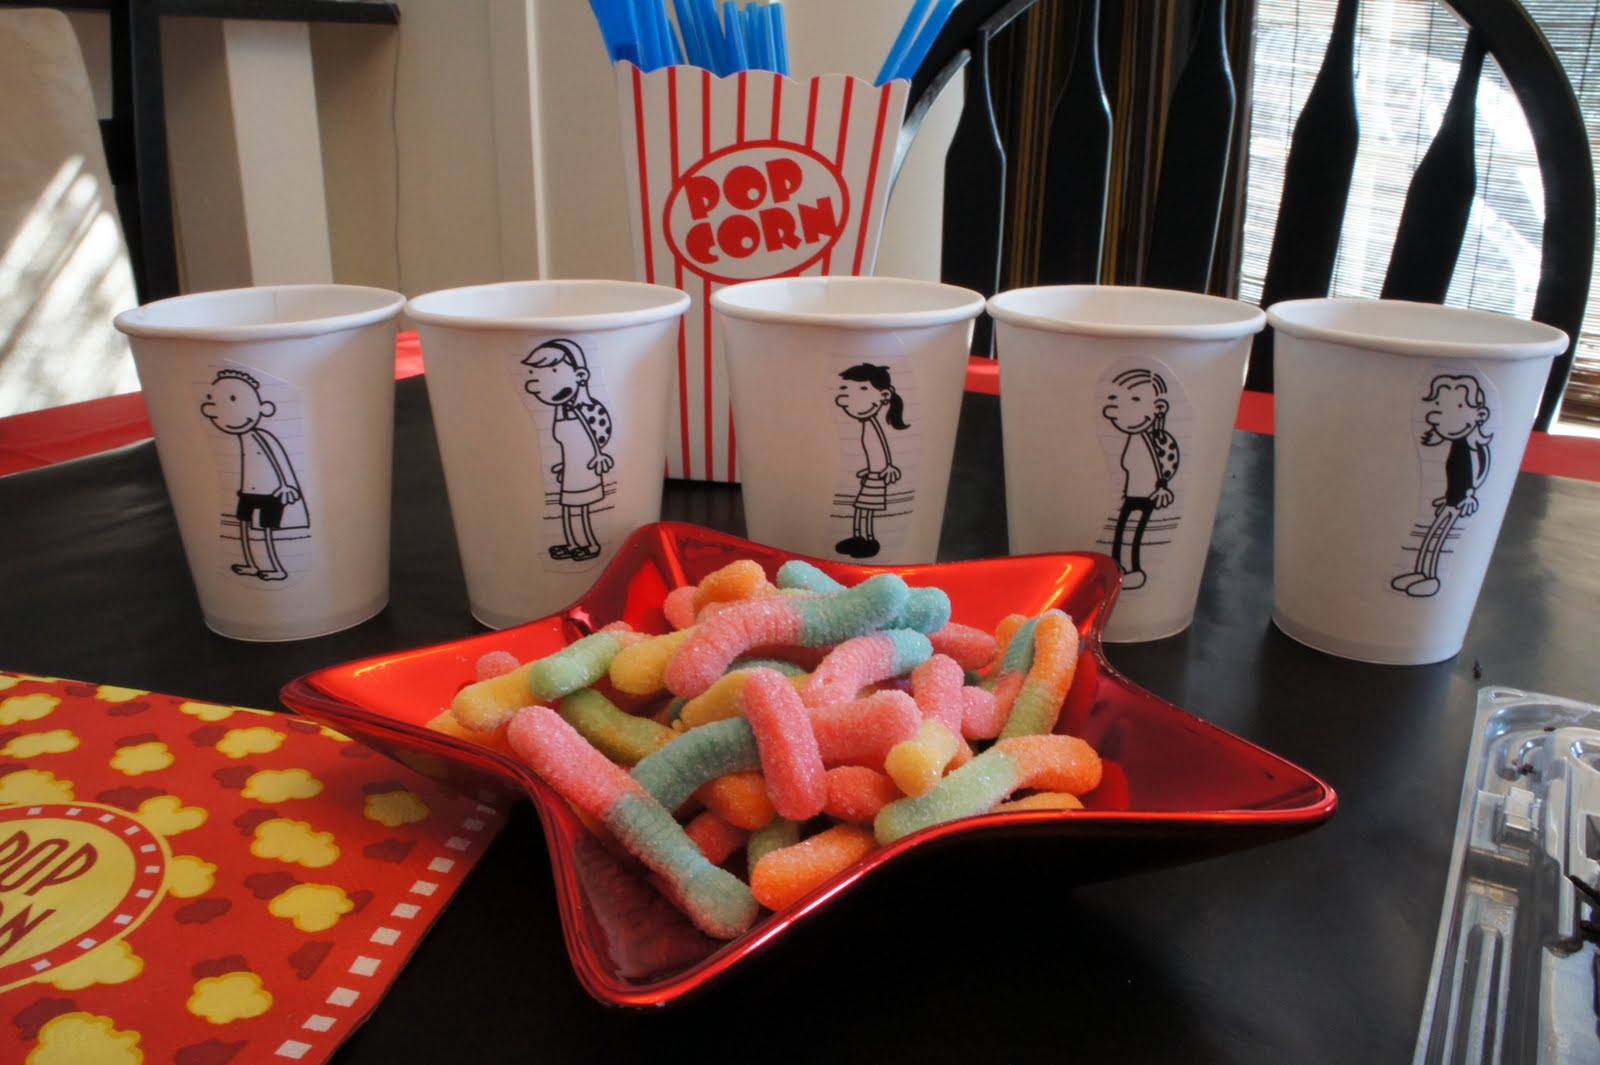
We also decided to "wimp" all of the guests....my son had a ball doing this!! We saved the images and then printed them out on sticker paper. We stuck them on plain paper cups. When the guests all arrived, they had a wonderful time trying to identify themselves. These cups had an added bonus...everybody new their own cup when it was time for drink refills!


Some loot bag goodies!!


The highlight of the loot bags were definitely the personalized diary's.....I used the same sticky paper and images of each guest I had made for the cups....super simple! The kids were thrilled!!


My son was delighted with his party.....and really, what more can a Mom hope for ;)